How to Make Chickadee Legs
Step 1
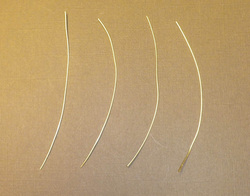
Cut 4 - 4" lengths of 20 gauge wire for each Chickadee leg. Eight total.
Step 2
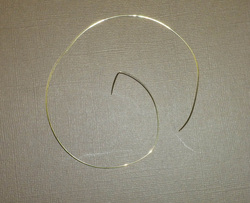
Cut 2 - 15" lengths of 28 gauge wire. Put a 90 degree 1/2 " from the end of each wire.
Step 3
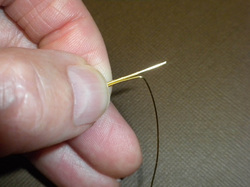
Hold the 90 degree bend 1/4" from the end of one of the 20 gauge wires with the 1/2" section pinched between your forefingers.
Step 4
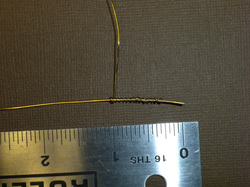
Wind 28 gauge wire up 'toe' for 3/4" on the 20 gauge wire. Secure with a triple wrap. Cut wire. Repeat with 7 remaining wires.

Step 5
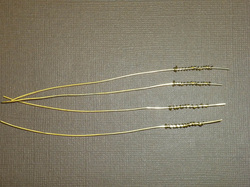
Bundle into groups of four and tape ends together.
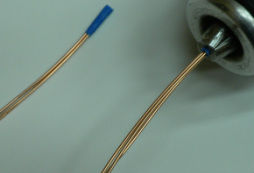
Pinch the four wires between the jaws of the pliers and twist the wires together to form the leg of the Chickadee (until it reaches the beginning of the 'toes').
Pinch the four wires between the jaws of the pliers and twist the wires together to form the leg of the Chickadee (until it reaches the beginning of the 'toes').
Alternatively you can:
Fasten the taped end of one of the groups of wires into the chuck of an electric drill; like you would a drill bit.
Then:
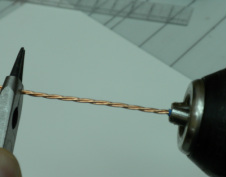
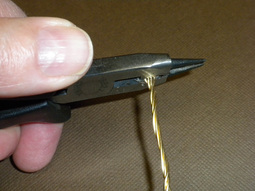
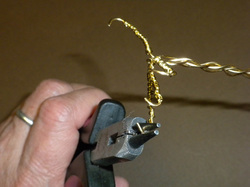
Tightly pinch together the other end of the wires just above the little coils (the grove in the jaw of jewelry pliers works great for this, see below.
Slowly start the drill to twist the wires together between the pliers and the drill chuck.
Slowly start the drill to twist the wires together between the pliers and the drill chuck.
A pair of Jewelry Pliers
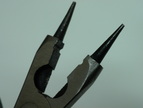
Notice the small grove in the jaws.
Step 6
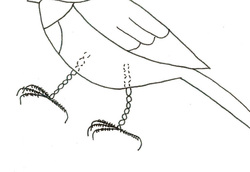
Using the Chickadee diagram as a guide, splay out the 'toes' with 3 in the front and 1 in the back.
With the tips of your pliers, curl the ends of each 'toe'.
Repeat for the second leg. Trim to length at the top of leg and wrap will a small piece of masking tape.
The tape will help make it easier to insert the leg into the stuffed chickadee.
With the tips of your pliers, curl the ends of each 'toe'.
Repeat for the second leg. Trim to length at the top of leg and wrap will a small piece of masking tape.
The tape will help make it easier to insert the leg into the stuffed chickadee.
Tip
Be sure to allow for the 'extra' top part of the leg that will be inserted into the Chickadee body when you sew it closed.
